Showing posts with label recipe. Show all posts

Thursday, March 26, 2015

Dipped Strawberries + My Cooking Challenge Continues


It seems as if I am constantly searching for something sweet after dinner and this recipe from The Forest Feast is the perfect substitute for rich brownies and ice cream and tastes fresh and rich! It was easy to assemble and no baking or waiting involved!


: INGREDIENTS :
1 small carton of fresh strawberries
3/4 cup greek vanilla yogurt
1/2 cup brown sugar
1 graham cracker

1. Use a food processor or mort and pestle to make the graham crackers crumbly, then combine it in a bowl with the brown sugar.

2. Dip the strawberries first in the greek yogurt.

3. Dip it lightly and roll it into the brown sugar and graham cracker mix.

* Make these right before you plan on eating them because they will get soggy after a while. 


Monday, March 23, 2015

Potato - Asparagus Salad + My Cooking Challenge


My cooking challenge is coming along very well. I am becoming more confident when I cook and I love how I am even surprising myself with my skills! The Forest Feast by Erin Gleason has been such a great help and has even let me get a little creative in the way create and display the dishes. Her recipes are easy to follow and are never over complicated, perfect for someone who is just getting her bearings in the kitchen. 


Originally the recipe was a Potato and Green Bean Salad and while I didn't have any green beans in the kitchen, they also aren't my first choice vegetable, so I opted to use asparagus which I can't get enough of! 

The dressing can either be a simple rice vinegar and olive oil combo OR you can be a little more adventurous and mix it with her Greek Caesar Dressing that I could drink like soup it's so good!

:INGREDIENTS:
25 Mini Potatoes(I used fingerling)
6 Garlic Cloves
1 TBSP Olive Oil
Salt and Pepper

10-15 stalks of Asparagus

3/4 cup Olive Oil
2 whole Garlic Cloves
1/4 cup Greek Yogurt
1 TBSP Lemon Juice
2 tbsp Dijon Mustard


:DIRECTIONS:
1. Turn the oven on to 425 degrees and place the potatoes and garlic on a tray and sprinkle the olive oil, salt and pepper on top. Let them roast for about 25 minutes. 

2. While they cook, lightly cook the asparagus in a skillet with some olive oil for about 5 minutes. 

3. For the dressing, combine all the ingredients into a jar and shake until well combined.

4. Once both are cooled toss them together and combine with the dressing! Then try and stop yourself from eating the entire thing!


This dish has so far been one of my favorites and I can't wait to make more of it this summer!


Tuesday, March 3, 2015

Olives + Orzo… What More Do You Need?!


One thing you should know about me is that I love orzo and I will find any excuse to cook with it! If you've never had orzo, shame on you, but it is a small rice - shaped pasta that cooks quickly and is great for a lot of dishes.

Having lived in Milan for 3 months a lot of the dishes I made at home consisted of mozzarella, pasta and olives. Sounds kind of plain but the pasta in Milan was so rich in flavor and the fresh mozzarella and olives were a perfect compliment to the pasta. So I stumbled upon this recipe on Bloglovin and the dish was so abundant in color and reminiscent of my meals in Milan that I  had to give it a go…


:INGREDIENTS:

1/4 cup Extra Virgin Olive Oil
1 whole Lemon (juiced)
1 clove Garlic (Minced)
Salt and Pepper 

12 oz Orzo Pasta
1 cup Red Grape Tomatoes
1 cup Yellow Grape Tomatoes
1 cup Kalamata Olives
1 cup Chickpeas
1/4 of a Red Onion
2 TBSP Fresh Parsley
1 cup Crumbled Feta


:ASSEMBLY:

1. Bring the water to a boil and throw the orzo in. Usually cooks within 8-10 minutes.Drain it then set it aside.

2.Use a cutting board to dice the tomatoes, olives, onions and parsley into small pieces. 

3. Open the chickpeas and drain all the water then set to the side until you combine all the ingredients. 

4. In a jar combine the olive oil, lemon juice, salt/pepper and garlic. Shake until well combined. 

5. In a LARGE bowl toss in the orzo and all of the ingredients. Then evenly drizzle the dressing over the mixture and combine until it is evenly distributed. 

6. I like to add the Feta cheese last so that it stays fresh and doesn't get too soggy. 

7. Lastly add salt and pepper to taste but because the olives are already pretty salty, add cautiously!


The end result is a delicious, vibrant and fresh salad. It's nearly effortless to make and it's great to pack for a smart lunch! 


Wednesday, February 18, 2015

Homemade Protein Bars + Baking With My Kryptonite


I've been on the hunt for a great protein bar recipe for weeks months now. Now in full disclosure I am probably risking my life to make these bars because I am HIGHLY allergic to peanuts, almonds, all that stuff. So why am I making these bars you might ask? My boyfriend eats granola bars every morning for breakfast and there isn't much protein in them so I thought I could probably pretty easily make a protein bar that tastes better than your run of the mill chocolatey protein bar.

I love this recipe because it has all natural ingredients, no preservatives and I can pronounce everything that's put in the bar!


During this entire process I tried my best to not actually touch any of the ingredients, but I had my Epi pen on hand just in case...


:INGREDIENTS:
1 1/2 cups rolled oats aka Old Fashioned Oats
1 cup whole almonds
1/2 cup dried cranberries*
1/2 cup dried apricots*
1/2 cup pistachios
1/3 cup walnuts
1/3 cup sunflower seeds
2/3 cup cashews

1/3 cup pure maple syrup or honey
1/4 cup apple sauce
1 cup (8 oz.) almond butter

*You can substitute the fruits for any dried fruit. I've made them before with blueberries and cherries. 


My almond butter kryptonite…

:DIRECTIONS:
1. Combine all of the dry ingredients into a large bowl and set aside. 
2. Measure out the almond butter into a microwave safe bowl and put in the microwave for 2 sessions of 18 seconds.
3. Combine the syrup and apple sauce into the bowl with the almond butter and whisk until smooth. 
4.Combine the almond butter mix with the dry mix and mix well.
5. Line an 8x8 baking pan with wax paper then pour the mix into the pan and spread it out evenly.
6. Place in the freezer for at least an hour, hour and a half if you have the time. 


7. Once they've sat in the freezer take it out and lift out the one solid bar by grabbing the wax paper and setting it down on the counter.
8. Use a knife (I used a butcher knife, a little extreme but it got the job done!) to cut the bar into how ever many pieces you like. It can make anywhere between 10-16 bars. 


Wednesday, February 11, 2015

Baking and Bunting: Lemon Buttercream Vanilla Cake


Full disclosure: The final cake that I made was my second attempt because the first one went way wrong. I had originally envisioned a beautiful fluffy vanilla cake made from scratch… what I got was a buttery blob whose taste couldn’t even be masked by my yummy lemon buttercream frosting. In the oven it smelled like someone had just microwaved popcorn and sure enough when I sampled it it tasted like a movie theater. So it was back to square one!


Baking for me can sometimes feel like a temperamental science experiment. Are you letting it cook too long? Did you add too much baking soda? Will it be too dry? Questions like that loom over me when I’m baking in the kitchen. I’m still fairly new to the the cooking/ baking game so of course there is still a lot I’m learning and making mistakes is just a part of it!


:RECIPE:
1 1/4 cups sifted flour
1 1/2 cup sifted cake flour
1/2 tsp baking soda
1 1/2 tsp baking powder
1 tsp salt
1 1/2 cup sugar

2/3 cup vegetable oil
1/3 cup vegetable shortening
3 TBSP vanilla extract
3 eggs
1 1/2 cup buttermilk

:DIRECTIONS:
1. Sift together all the dry ingredients
(flours, baking soda/powder, sugar and salt)
2. Spray 2 nine inch round cake pans with baking spray.
3. In an electric mixing bowl beat together the vegetable oil, shortening and vanilla. Using the whisk attachment beat the mix until light and fluffy. 
4. Beat the eggs in one at a time. 
5. Fold in the dry ingredients alternating between mixing in the buttermilk and the dry ingredients. 
6. Bake at 325F for 25-30 minutes. Then let cool before assembling with the frosting. 

:FROSTING:
1 C. butter (softened)
8 oz. cream cheese
Zest of 2 lemons
1 TBSP lemon juice
3 1/2 - 4 1/2 C. powdered sugar


1. Beat butter, cream cheese and lemon zest.
2.Stir in lemon juice.
3. Gradually add the powdered sugar until it has reached a desired texture.

*After you've mixed the buttercream, let it sit in the fridge for 20-30 minutes to let it harden so its easier to frost. 

Then frost it and ENJOY!

If you want to learn how to make the bunting… keep reading!


I've always had an obsession with bunting and I'll find any excuse to make it! I've never made it on this small of a scale before but it was super easy. All you need is paint chips, scissors, string, glue gun and kebab sticks. It might seem strange to have a supply of paint chips on hand but I'm a girl that likes to DIY and I find a ton of uses for them!

1. Cut out 6-7 triangles.
2. Put a dot of hot glue on the back of the triangles and start attaching them to the string.
3. Double knot the string around the kebab sticks and you've got yourself a decorative cake piece!


Tuesday, February 10, 2015

Mint Green Giant…Smoothie


I will be the first to admit that I probably do not eat as many vegetables as I should. Now I know how this looks, there are chocolate chips in there but I wanted to make a sweeter breakfast smoothie and WHY NOT?! It has soy milk which I love and greek yogurt which I could eat by the barrel. 


The final result was a yummy mint green smoothie that was quick to make and smelled like summer!

RECIPE…

3/4 cup greek yogurt
1/4 cup fresh mint
1 cup soymilk
1/4 cup dark chocolate chips
1 cup baby spinach
1 TBSP maple syrup
1 1/2 cup crushed ice


Wednesday, January 7, 2015

Baked Garlic Nuts + Living on the Edge with My Nut Allergy


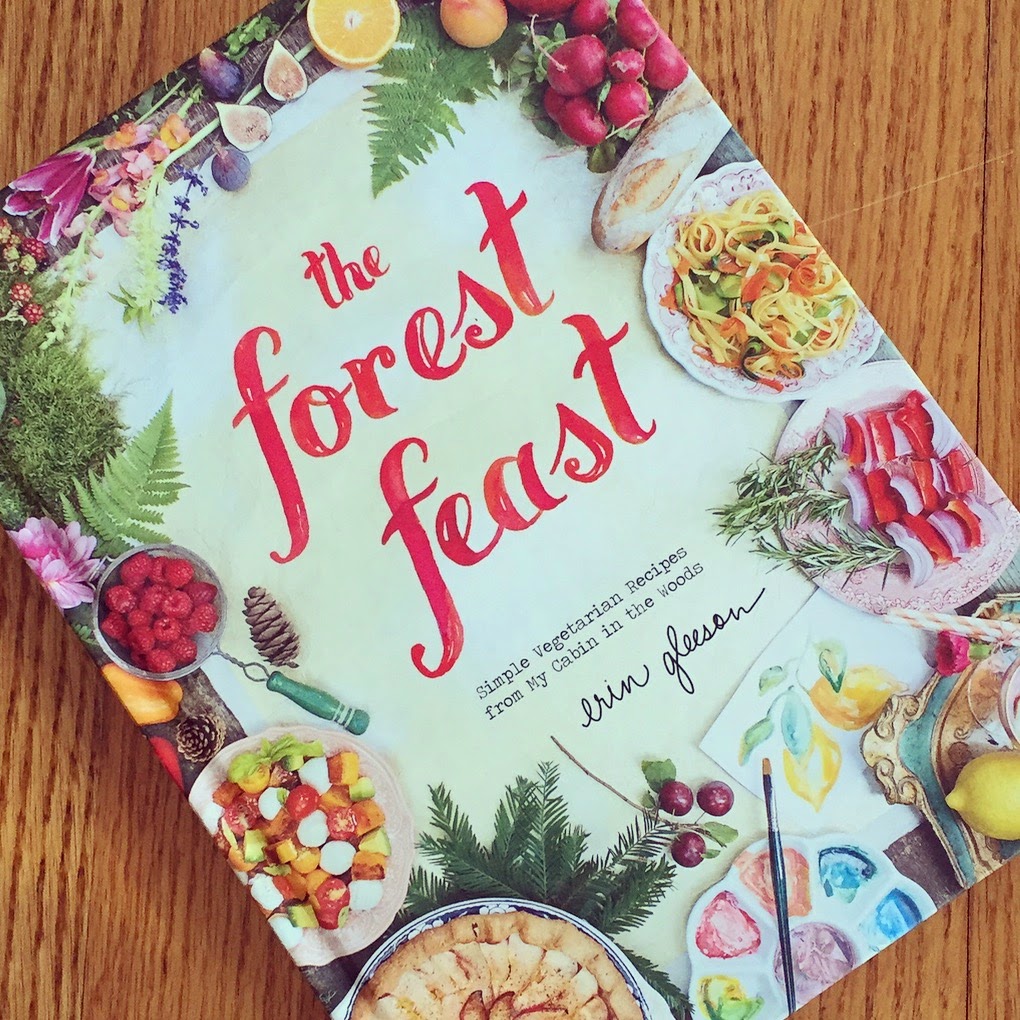
I would never say I'm naturally gifted at cooking but I like to try and I don't even mind when I make mistakes. I was gifted this book The Forest Feast for christmas and I absolutely love it. It's a vegetarian book and while I do now eat poultry and fish, I haven't eaten red meat since 2005, except for a small slip up of a cube of bbq pork in Hong Kong and that was so that I wouldn't appear rude! The author created these incredible recipes and even more beautiful photos that fill every page with color and amazing composition.


My first attempt from The Forest Feast is the Baked Garlic Nuts. I should also point out that I am deathly allergic to nuts but I wanted to try the recipe out for my boyfriend who loves them so I kept my epi pen nearby just incase a freak accident occurred, which would happen to me seeing as I took a nasty fall two days ago and sent my phone slow motion flying through the air. I saw hit the ground hard and I still had time to look up and watch my phone doing summersaults and finally bounce a few times before landing under a car. We both survived though. 


I've NEVER seen or peeled this much garlic in my entire life, I thought the 20 garlic cloves might have been a misprint but that's what the recipe called for. However I will say you could easily get away with half and it would still taste just as delicious and leave you with half the potent breath!


RECIPE

20 peeled cloves of garlic *
1 T finely chopped fresh rosemary
2 t olive oil
1/4 t truffle salt**

1 cup unsalted raw mixed nuts 


First: Mix and roast the everything BUT the nuts on a baking sheet at 350 degrees for 15 minutes or until garlic is soft and golden.

Second: Mix the nuts into the garlic mixture on the baking sheet and roast another 5-7 minutes. Then transfer to a bowl and add kosher salt to taste!

* Like I said before 20 cloves is a little intense so I would do maybe 10, but hey if you love garlic then go crazy!

** I didn't have truffle salt nor did I find it at the supermarket so I used regular kosher salt.


Then thats it and your kitchen smells super delicious afterwards! This is a super easy snack to make for everyday life or dinner parties, or if your like me a "lethal" snack to make and handle for your boyfriend. So if your allergic like me and like to live on the edge try making this great snack. Thank you Erin Gleason for this BEAUTIFUL book!

Monday, January 5, 2015

Lemon Berry Cake… or something like that


I'll be straightforward and tell you right now that shortly after I assembled this masterpiece of yummy fruit and buttercream for days… it started to unravel and we quickly had to sing happy birthday to my sister and serve the cake!

While we sang happy birthday to my now 21 year old little sister I could see the cake buckling from the weight of the fruit I suppose so I tried singing faster in hopes the crowd would catch on but instead it felt like they slowed down.


With that disclaimer out of the way, the cake was DELICIOUS!!! How could it not be though with that much butter, cream cheese and fruit? I think I discovered my mistakes and I'll let you know to to not meet the same fate if you try and bake it! I definitely encourage you to make it because it was ridiculously easy and tastes so fresh and sweet!


RECIPE
Lemon Cake:
1 box white cake mix
3 eggs
1/3 cup melted butter, cooled
Zest of 2 lemons
1/3 cup lemon juice
2/3 cup buttermilk
1/2 cup sour cream (or plain yogurt)
2 cups blueberries

Raspberry Buttercream*:
1/2 cup butter, softened
8 oz. cream cheese
2 T. raspberry puree(pureed in a blender) 
strained to remove seeds
3 1/2 - 4 1/2 cups powdered sugar

Lemon Buttercream*: 
1 cup butter, softened
8 oz. cream cheese
Zest of 2 lemons
1 T. lemon juice
3 1/2 - 4 1/2 cups powdered sugar


* Let both butter creams cool in the fridge before assembling cake so that the cake doesn't fall apart mid Happy Birthday song.


How to make it…

1. Preheat oven to 350 degrees and grease three 8-inch pans.

2. Sift cake mix into a small bowl and set aside.

3. In a large bowl, combine eggs, butter, lemon zest, lemon juice, buttermilk and sour cream until smooth. No electric mixer necessary, just a good old fashion hand stir!

4. Stir in cake mix and blueberries.

5. Divide batter between the three pans.

6. Bake for 17-22 minutes or until a toothpick come out clean.

7. Let the cakes cool completely.

8. Raspberry buttercream: In an electric mixer beat butter and cream cheese until smooth. Stir in pureed raspberries; gradually add powdered sugar until it reaches a desired consistency.

9. Lemon buttercream: In an electric mixer again beat the butter cream cheese and lemon zest. Stir in lemon juice and gradually add powdered sugar. 

10. To assemble the cake, stack the layers spreading the raspberry buttercream between each layer. Cover the entire cake with the lemon buttercream then top with fresh berries!

ENJOY!!

Recipe credit to Make it with a CAKE MIX by Lizzy Early